There are two kinds of casting people normally do at home in regards to lost wax. They either use a centrifuge, or a vacuum plate. In a centrifugal setup the hot metal is poured into a special crucible, and then spun madly to fling the hot metal out into the molded investment. See below.
Or vacuum plate casting, where the hot metal is poured down into the molded investment and then a vacuum is used to suck the air out of the investment making sure that the hot metal gets into all the little nooks and crannies. See below.
I am going vacuum plate, because its slightly easier to fit into my current sized (aka: small) studio.
The basic idea is you have a flat metal surface with a high temp silicon rubber gasket, you somehow get a small hole in the base of that flat area for the vacuum hose to come up under the flask/gasket combo, turn on the vacuum pump, put the flask with hot investment on top, pour in molten metal.
I got almost all of the stuff for this project out of dumpsters, so I started by cleaning up an old nasty board I found.
Image may be NSFW.
Clik here to view.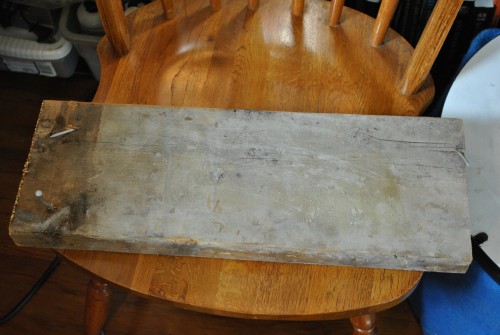
Image may be NSFW.
Clik here to view.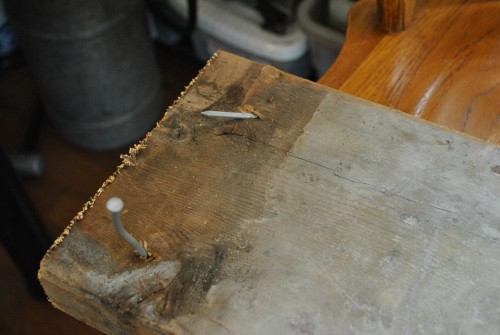
Image may be NSFW.
Clik here to view.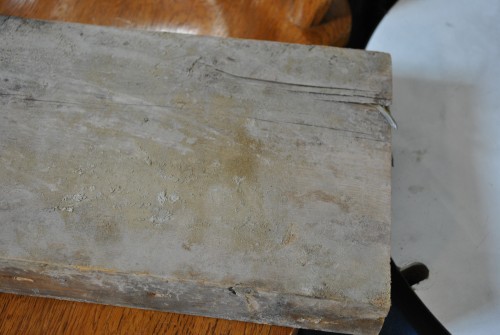
Image may be NSFW.
Clik here to view.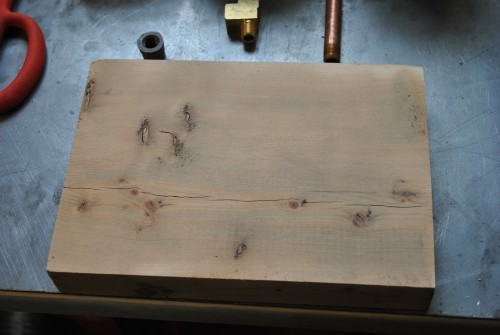
Image may be NSFW.
Clik here to view.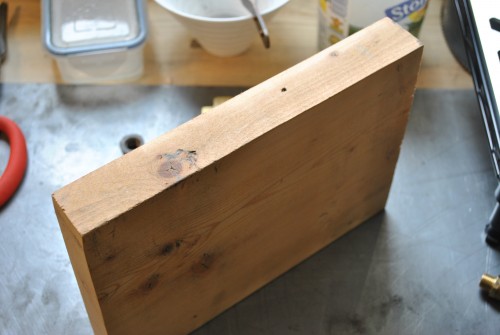
Image may be NSFW.
Clik here to view.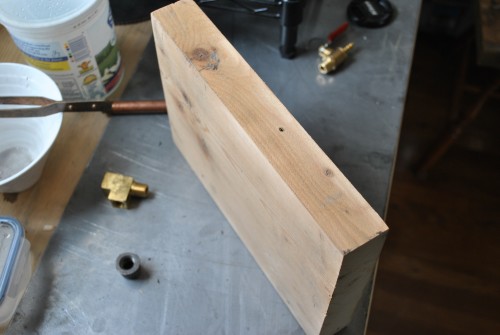
I cut it roughly 10 inches along one side, with the assumption that the “business area” is about a 4x4in square centered around the center of the block, so this is plenty big. Try to get the edges and tops as flat as possible, I used a rotary disk sander with some 120 grit on this for a couple minutes to clean it up nice and smooth.
Next I dry fit the “plumbing” I used 1/4 inch brass NPT (means they have air tight pipe thread on them, which you want) fitting. These included the following parts:
dixon valve ttb75 ptfe industrial sealant tap ($2)
Anderson Metals Brass NPT Pipe Fitting, Barstock street Tee 1/4″ female Pipe x 1/4″ Male pipe X 1/4″ female Pipe ($5)
a 4 inch piece of Red Brass Pipe Fitting Nipple Schedule 40 Seamless 1/4″ NPT male pipe ($4)
and a stainless steel (they were out of brass) 1/4″ NPT pipe mushroom style cap ($1)
A 1/4″ npt threaded ball valve to Barb ($3)
Image may be NSFW.
Clik here to view.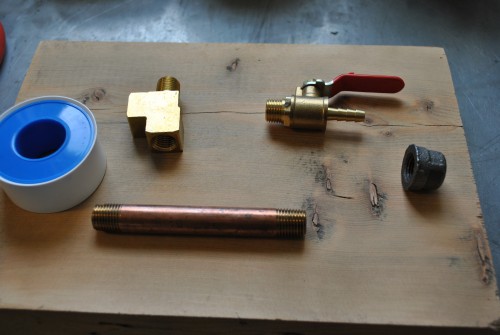
Image may be NSFW.
Clik here to view.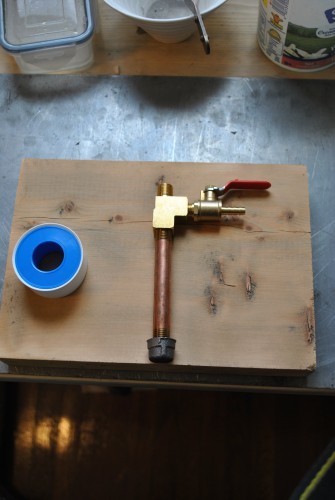
Image may be NSFW.
Clik here to view.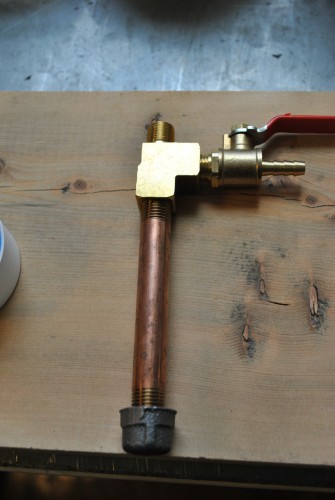
The top threaded part is “up” so that will be what sticks up through the plate to suck the air out of the flask. You will notice that I have placed a large section of pipe that goes “down.” The reason I did that is because if there is a catastrophic flask failure and molten metal pours down into the hole it will flow straight down into the pipe instead of down the hose into the vacuum pump jacking it all up. The square sides on the valve make it fit really well later in the process, so if you can find that kind do so.
Image may be NSFW.
Clik here to view.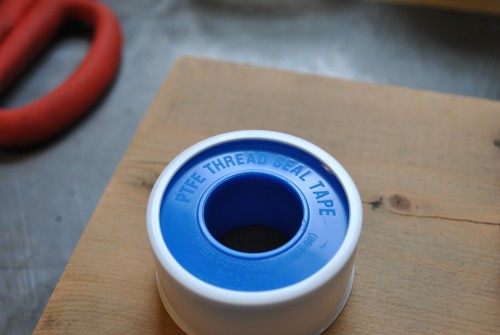
When you do the final fit, be sure to wrap all the threads with the ptfe seal tape to get a strong airtight seal.
Image may be NSFW.
Clik here to view.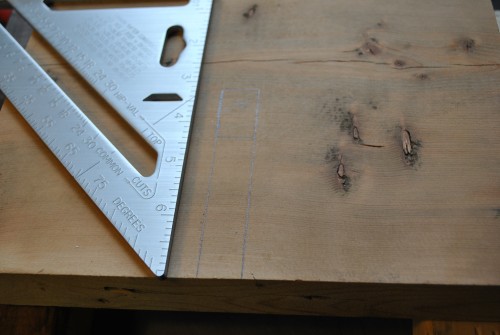
Next I measured a channel into the side of the board big enough to hold all the plumbing.
Image may be NSFW.
Clik here to view.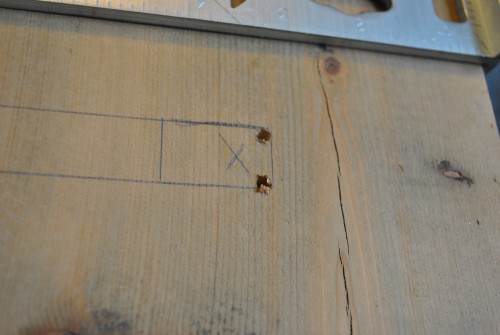
Image may be NSFW.
Clik here to view.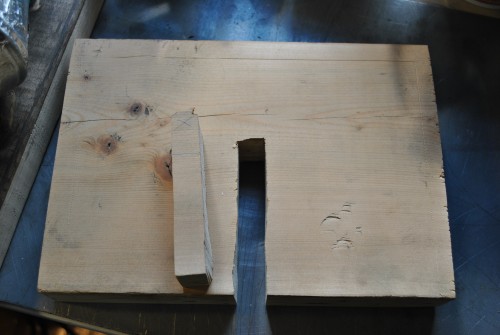
Be sure your plumbing will fit into the notch, and rough it out a bit more with sandpaper or a chisel if it needs more space.
Image may be NSFW.
Clik here to view.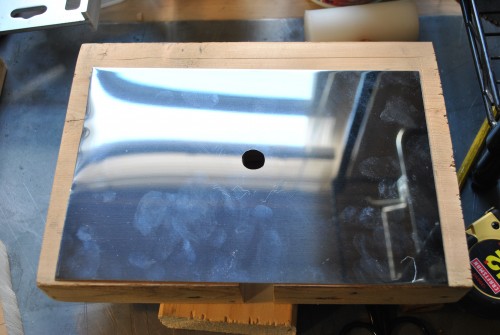
Next measure the steel plate and cut a small hole in the middle of it (I used a jewelers saw) big enough to hold the threaded end of your plumbing fixture. Line up the plate, and mark on the wood where it goes, then jam your plumbing contraption into the notch. This is a stainless steel plate I had laying around that is a little under 2 mm thick.
Image may be NSFW.
Clik here to view.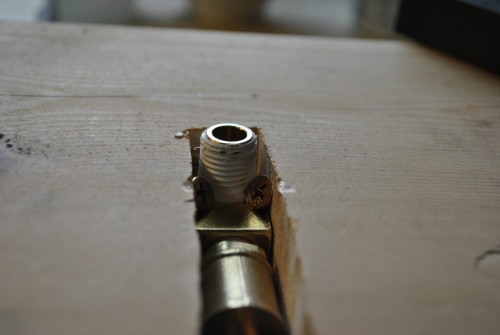
Image may be NSFW.
Clik here to view.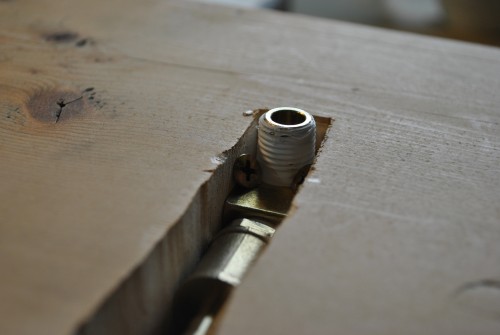
You can see that it sticks up just enough to go through the metal plate, and then I affixed it in place with two screws.
Image may be NSFW.
Clik here to view.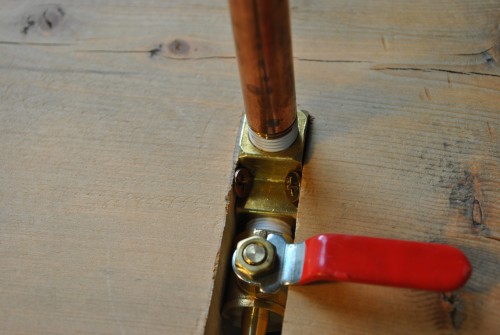
Image may be NSFW.
Clik here to view.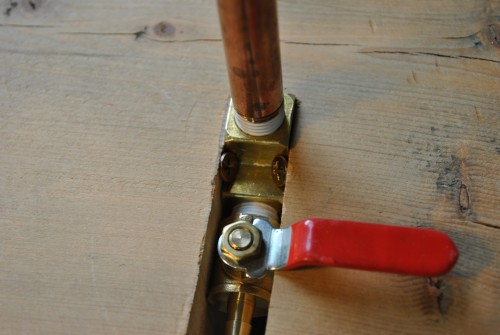
Here is the bottom, as you can see the ball valve has enough space to swing to both side. Two more screws are used to keep it rock solid.
Image may be NSFW.
Clik here to view.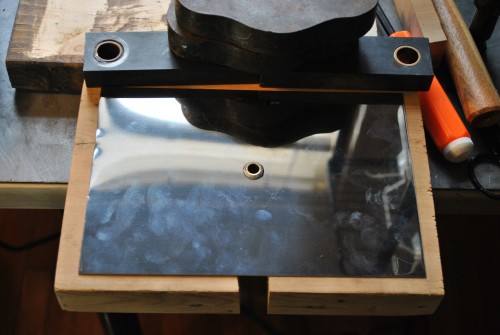
Image may be NSFW.
Clik here to view.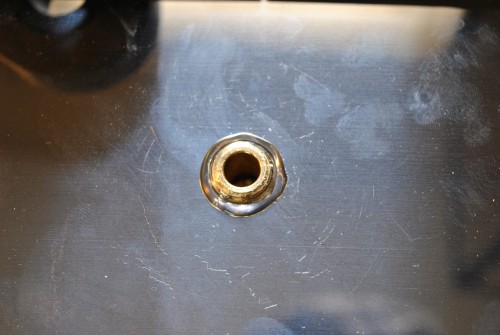
Image may be NSFW.
Clik here to view.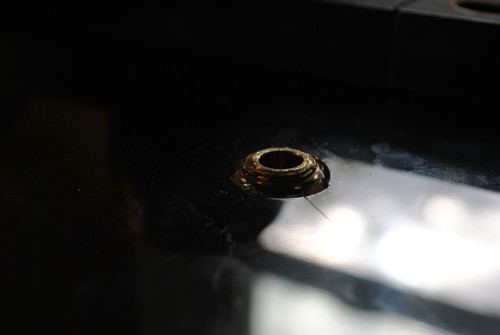
Stick the small threaded end through the plate, and use some silicon caulk, or in my case some e6000 glue left over from the kiln vent hood. Be sure to get a good seal and have it bulge out so it completely fills the gap and makes an air tight seal to the plate. The plate itself is not affixed to the wood in case it ever needs to be changed out.
Image may be NSFW.
Clik here to view.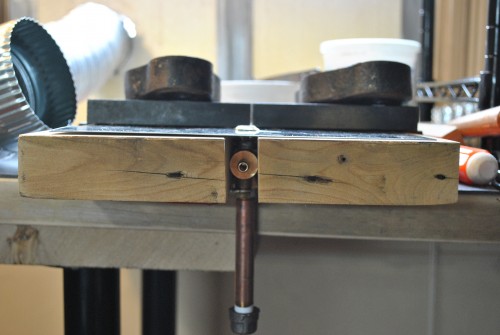
Be sure to let it dry fully, I used two coats to get a really good seal.
Image may be NSFW.
Clik here to view.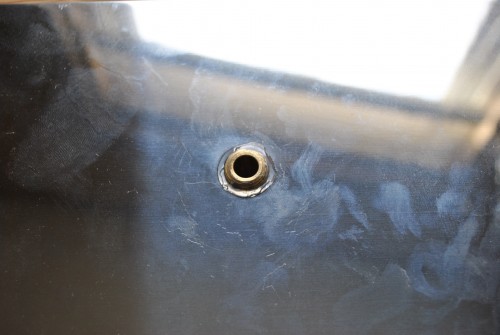
Let it dry overnight before doing anything else. It stinks, put it in a well ventilated area. Next I built some simple legs on the thing that would keep it sturdy and allow for the bottom drain pipe to stand up without hitting the table.
Image may be NSFW.
Clik here to view.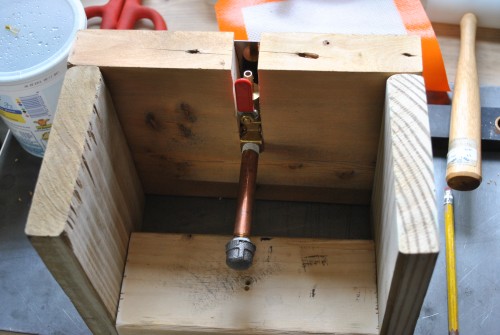
Image may be NSFW.
Clik here to view.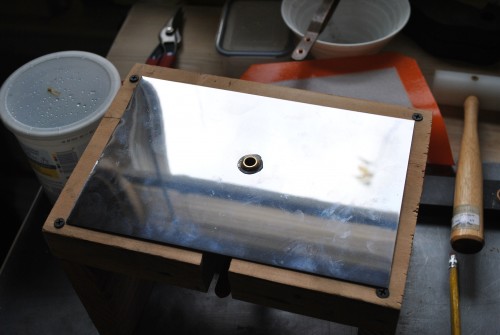
Image may be NSFW.
Clik here to view.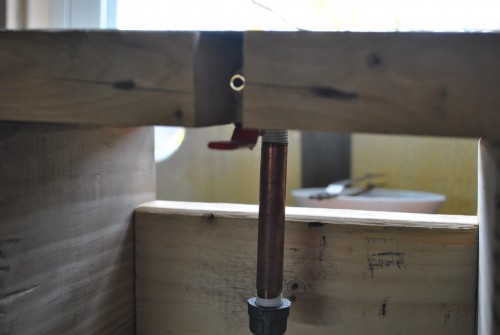
Image may be NSFW.
Clik here to view.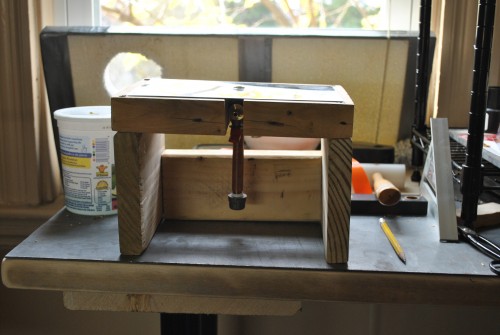
Here is what it looks like with the vacuum hose attached.
Image may be NSFW.
Clik here to view.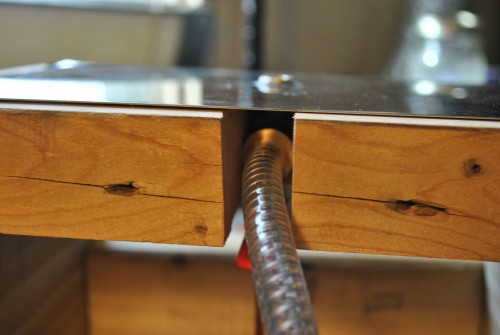
Image may be NSFW.
Clik here to view.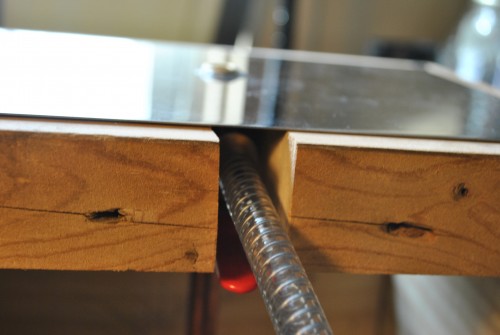
Image may be NSFW.
Clik here to view.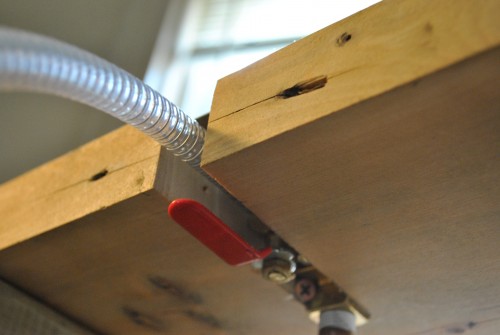
The four screws allow you to tug on the hose without anything moving around. Next I used a high temp backing silicon pad to make the base seal, another thicker high temp silicon sheet will be added in the future to absorb the heat of a prepared flask, cut the hole just big enough to surround the glue you used.
Image may be NSFW.
Clik here to view.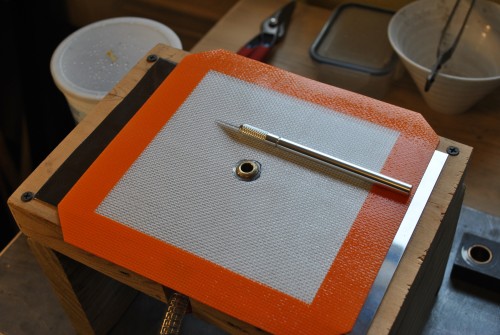
Image may be NSFW.
Clik here to view.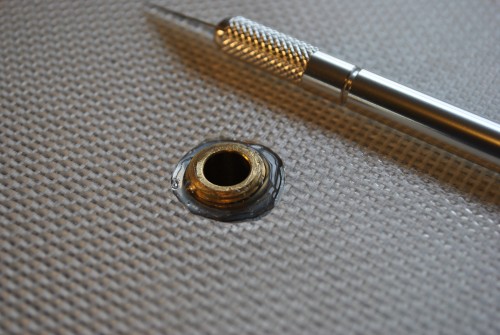
The only thing left to do was to fire it up and test it out. I have a vacuum chamber that I built with a vacuum gauge but this is just the plate and I didn’t know exactly how to measure if it was pulling a strong vacuum or not, until I remembered that water will boil in a vacuum, so I took pyrex storage dish and made a quick vacuum chamber and put a small glass of water inside.
Image may be NSFW.
Clik here to view.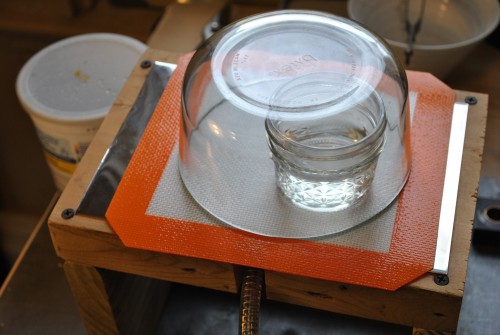
It works!
Image may be NSFW.
Clik here to view.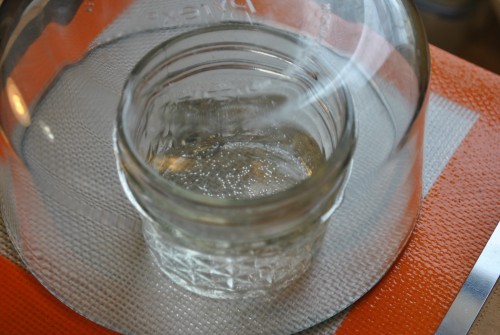
Materials used:
Found wood
Dixon valve ttb75 ptfe industrial sealant tap ($2)
Anderson Metals Brass NPT Pipe Fitting, Barstock street Tee 1/4″ female Pipe x 1/4″ Male pipe X 1/4″ female Pipe ($5)
a 4 inch piece of Red Brass Pipe Fitting Nipple Schedule 40 Seamless 1/4″ NPT male pipe ($4)
and a stainless steel (they were out of brass) 1/4″ NPT pipe mushroom style cap ($1)
A 1/4″ npt threaded ball valve to Barb ($3)
High Temp Silicon Baking Sheet
e6000 glue
wood screws
Zeny® Single-Stage 3,5CFM 5 Pa Rotary Vane Vacuum Pump 3 CFM 1/4HP HVAC Air tool R410a R134, blue ($53.00)
Vacuum Hose
Tools used:
Hand Saw
Utility Knife
Jewelers Saw
Drill with Drill Bit
Rotary Sander
Cost:
Total cost $68 (stuff I had to buy is priced above, everything else I had or found)
Buying a vacuum pump was a bummer, but couldn’t find one cheap or used around me, the rest was simple plumbing and some found wood. This was really easy and can basically be used for all sorts of things. I might end up putting a fine mesh over the vacuum hole just to keep anything from being sucked in.
I looked up a vacuum plate online, and new ones go for $400+ and they don’t even come with a vacuum pump (!). So getting away with this for under $70 including the vacuum pump is a steal.