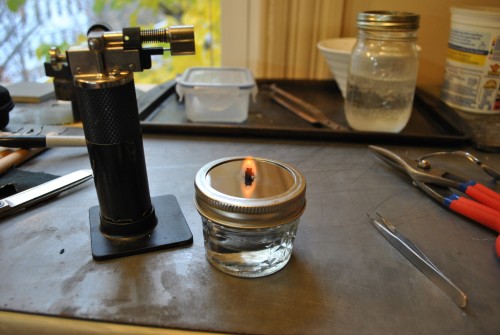
Another really handy thing to have is a source of heat for wax carving, adding sprues, and other waxy business. This can be as simple as a candle, but I wanted something a little more old school, but also something with some class. The tried and trusted way to do this is with a tiny alcohol lamp. I could have easily purchased one of these for 8 or 9 dollars online, but I am trying to save money. Plus I already had everything I would need for free!
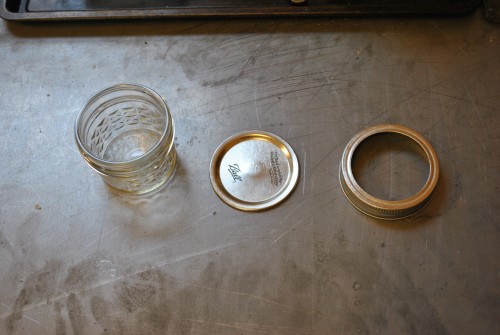
Step one, find yourself one of those super cute tiny mason jars. I use mason jars for just about everything, so I already had dozens of these things laying around. Make sure your’s has no cracks, and that the sleeve is in good shape.
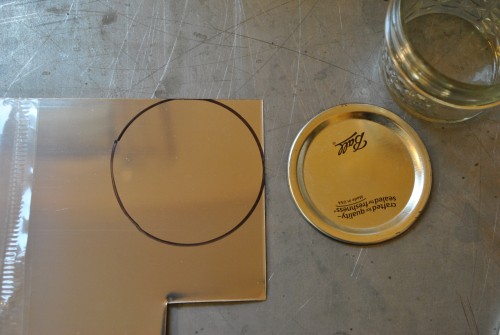
We are not going to use the middle lid (it has a rubber/plastic backing that would burn up), but we are going to use it to trace. the size of the replacement lid.
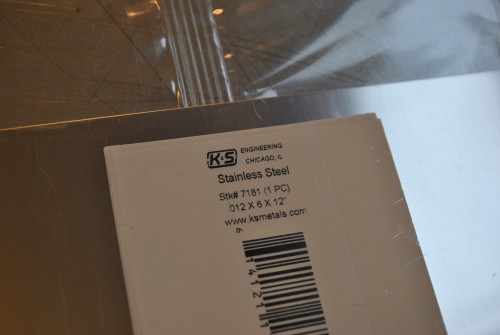
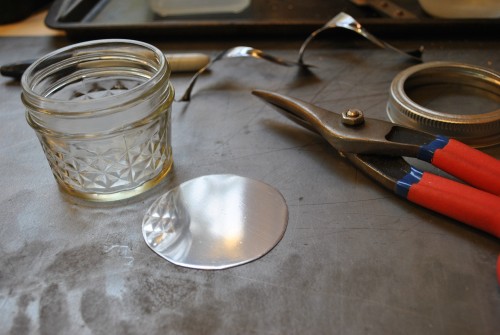
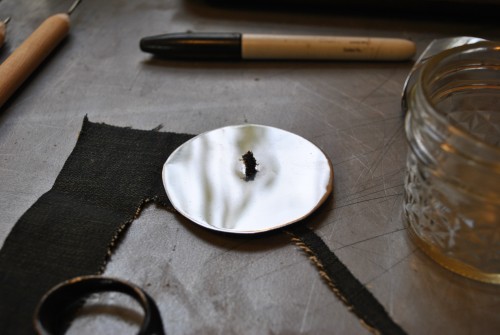
I had some stainless steel sheet laying around so I got a thin sheet out and traced the lid on it.
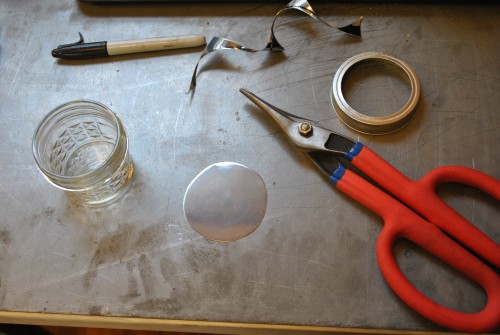
It was quick work with the tin snips and I had a very shiny lid replacement. It is important that the part of the lamp that will come in contact with the flame be entirely made of metal (for obvious reasons).
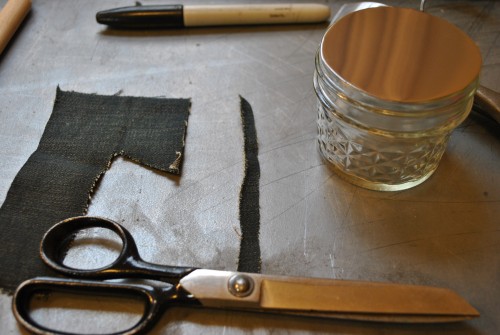
Your wick material can be any fabric or rope, so long as its 100% cotton. And old piece of jeans that I was using to sew up a newer pair of jeans made the perfect wick, denim is 100% cotton.
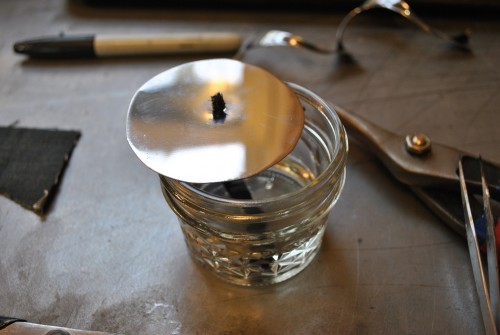
Drill a small hole in the middle of the steel circle. Your wick should be slightly wider than the hole but not by too much. Size your hole/wick combo accordingly.
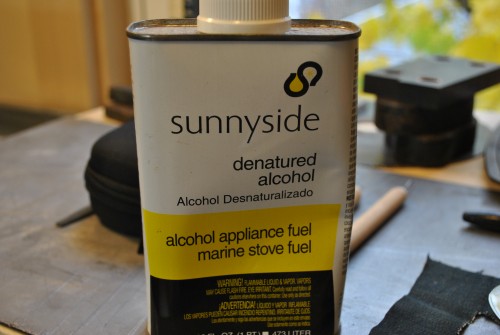
 You will need a fuel to burn, I highly suggest something intended for the job. Otherwise you might blow yourself up, or at the very least cause a nasty fire. Denatured alcohol should be your only choice. Don’t blame me if you use gasoline and burn your house down…I had this denatured alcohol laying around from a previous project.
Fill the glass 3/4 full and soak the wick in the alcohol for several seconds before pulling a small bit of it through the hole.
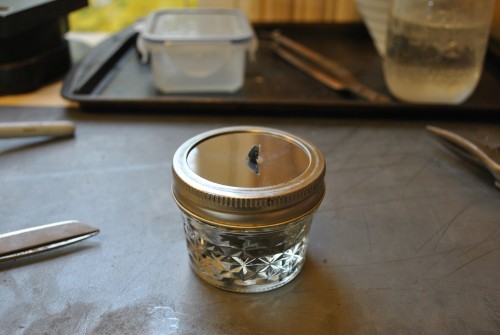
Put the lid on securely with the sleeve and light your new alcohol lamp!
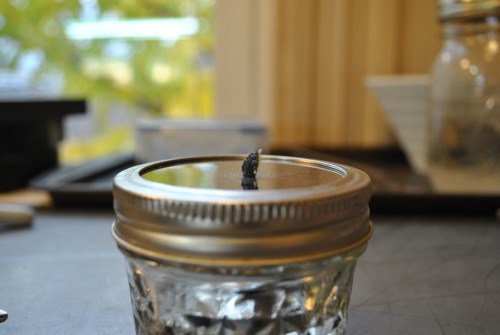
I let this guy burn for 5 or 6 minutes just to see what would happen. You know you have done it right when the wick stays blue and only turns black on the top, that means that the alcohol is burning and not the wick. You can control the size of the flames by controlling how much wick you pull through. If you are having trouble with your wick burning down too fast try putting a bit more alcohol into the glass (still leaving an air space at the top), as I have found that it helps it soak up the wick faster if the level of the fuel is closer.
Materials used:
Small mason jar
Stainless steel sheet
Old piece of denim
Denatured Alcohol
Tools used:
Sharpie
Scissors
Tin Snips
Drill and drill bit (but you could use a screw driver or punch and a hammer)
Cost:
Total cost $0!
