You want to carve wax, you need wax tools. There are some rather dashing and lovely tools available on the internet, problem is they all cost money, money I am trying to avoid spending. A quick google search or two confirms my suspicious that wax carving tools are basically wooden handles with steel point bits at the end. I have some steel bicycle spokes, and a hard wood dowel that will make a lovely handle. So off I go!
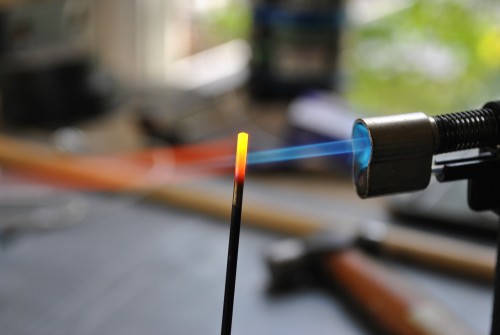
I surveyed a bunch of pictures of wax carving tools online and picked the shapes that seemed to be most common. I then set up a pico-forge on my new bench, consisting of a hammer, a chunk of metal, and a tiny torch.
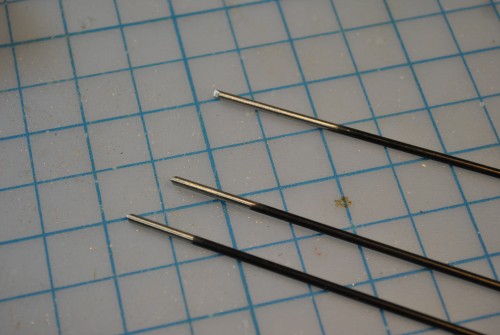
I took some old bike spokes I had from an old bicycle tire, cut off the threaded bit, and sanded the powder coat off (if you have plane steel spokes you can just lop the threaded part off…or honestly leave it, I learned later that the threads probably wouldn’t have made much different.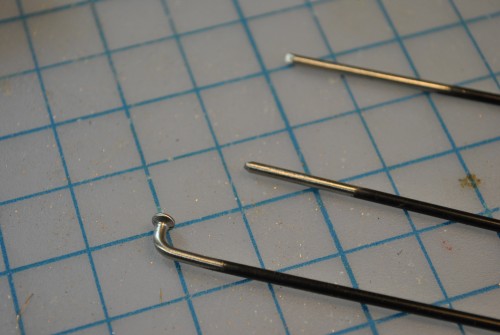
You can even use the bent end of the spoke for special shapes as I show later.
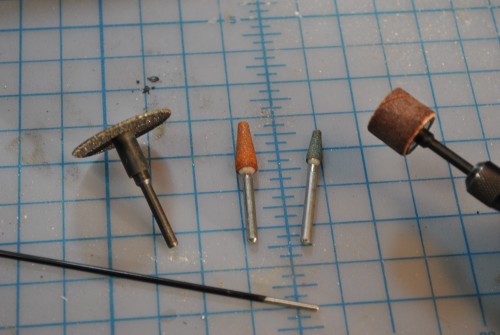
Get your dremel ready for some grinding.
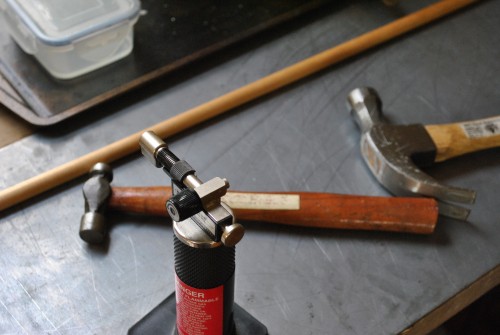
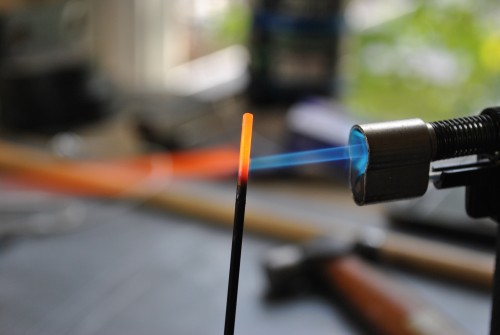
My pico-forge. The smallest forge in history.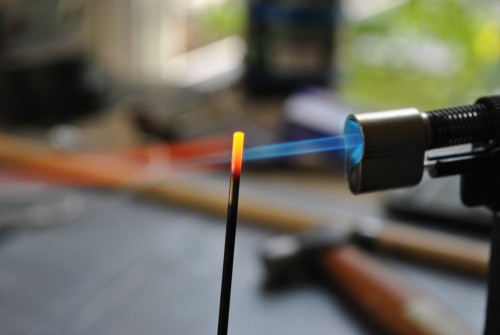
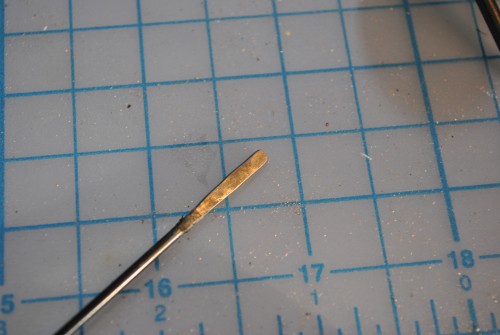
Then hammer it into the shape you want.
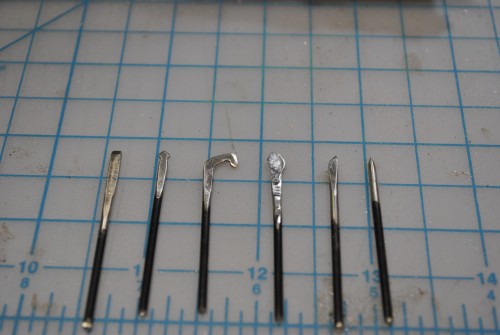
Use a file, or sand paper, or your dremel. And make all the other shapes you want.
The nice thing about this process is that I can forsee myself making custom one off tool with this technique for basically free. I have about 200 bike spokes, and you only need about 3 inches of one, so you can make multiple tool heads from just one spoke.
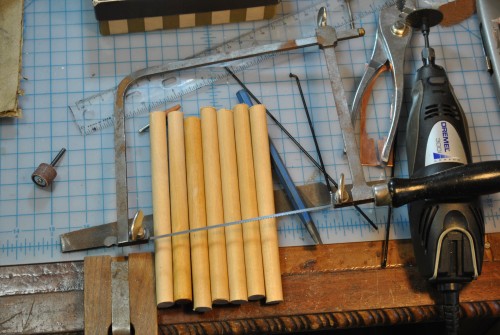
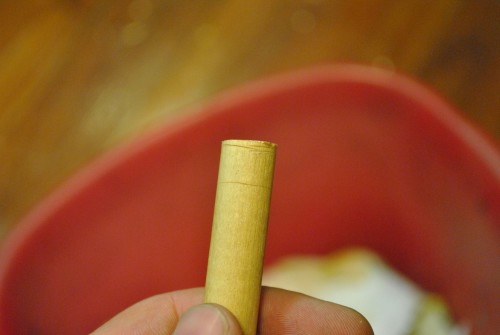
Get your dowel, and cut it into handle sized bits, I made mine about 6 inches long so, because I have larger hands, and I thought later I might want to put a tool head at each end to make them more useful and wanted enough room for that. And yes that is my jewelers saw with a jig saw blade mounted in it. (Simply snip the two ends off that have the little mounting peg for the jig saw and tighten it down into your jewelers saw, you now have a precision jig saw for the cost of the blades.)
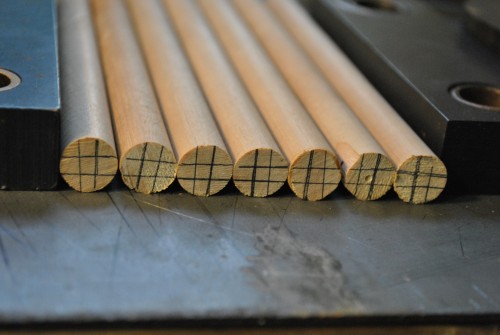
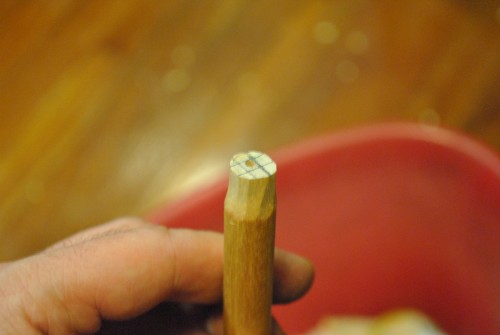
Do your best to center the holes, although a little bit off doesn’t matter. Now drill a hole the diameter of your bicycle spoke into the end of each one. Once that is done its time fer some good old fashion wittlin!
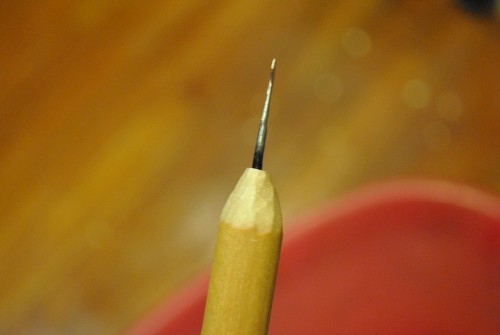
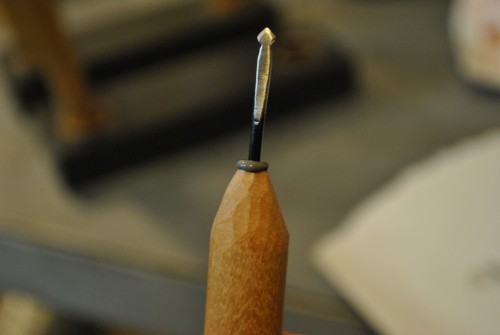
I took a utility knife, and carefully carved down the tips rotating and taking small chunks off until it came to a nice point for each tool. This was the second most fun part, (playing with fire will always be number one).
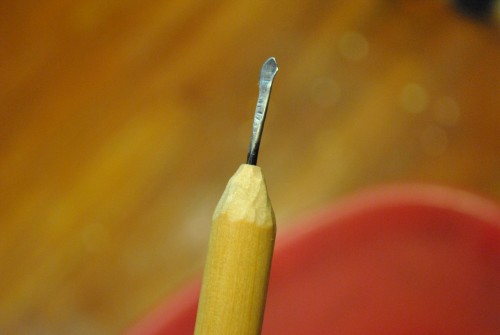
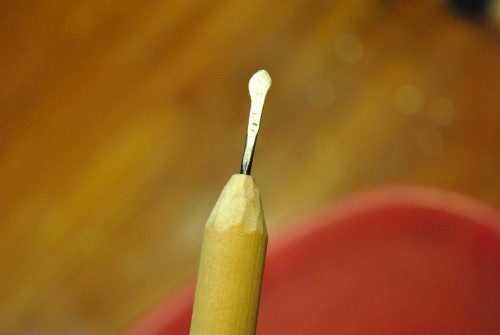
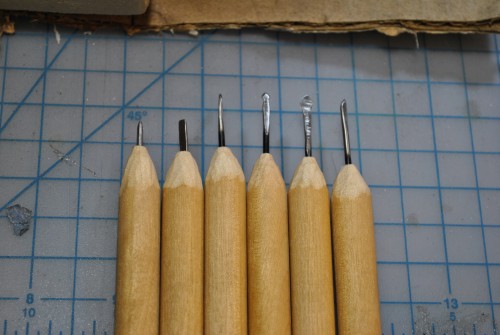
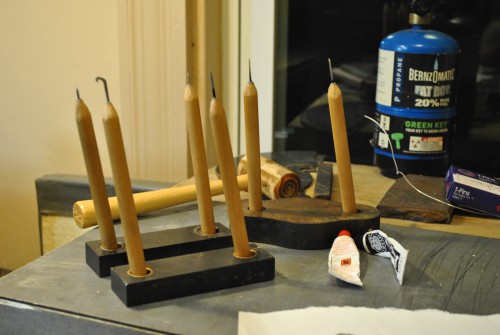
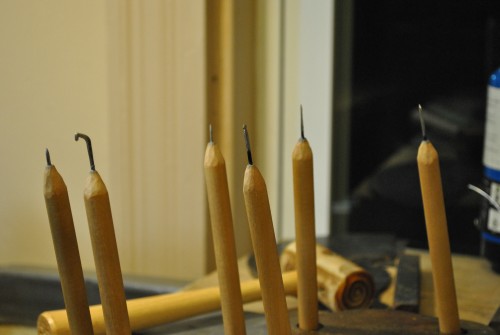
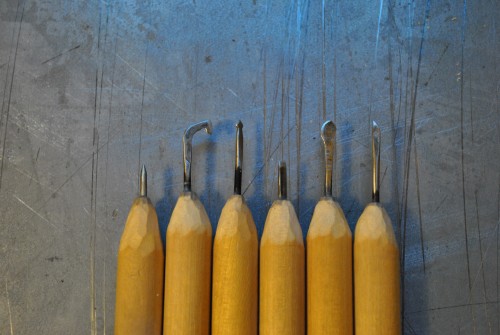
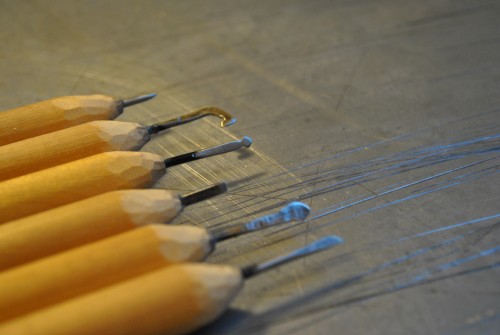
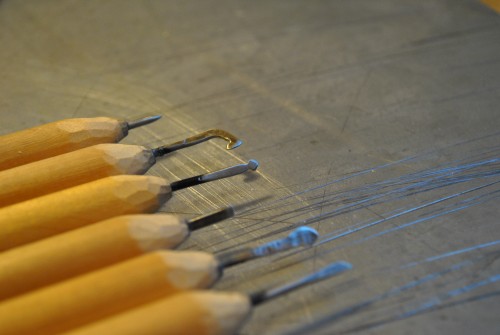
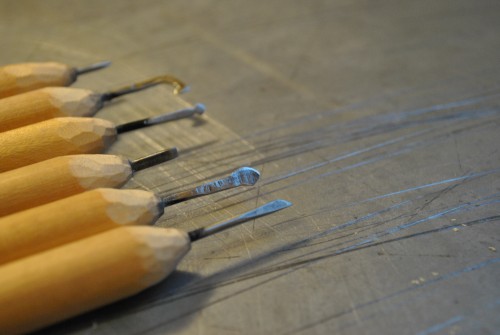
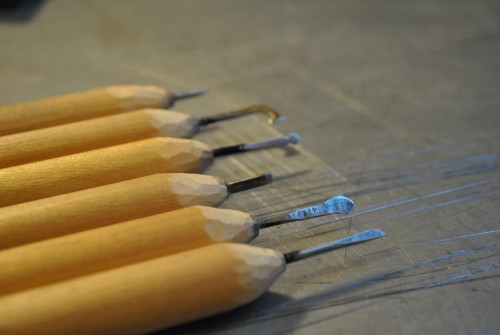
Test fit with all the tools. I set the scribe head, and chisel head further into the handle for more stability. From left to right I have named them. Scribe, chisel, hook, diamond, scraper, and graver.
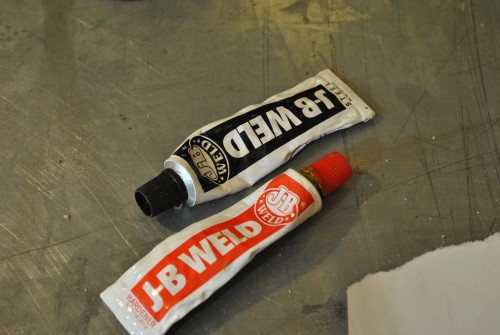
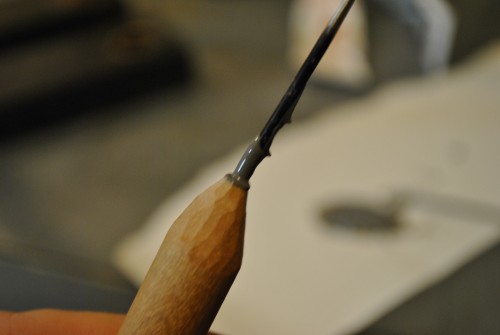
Now get yourself a strong two part epoxy. I like jb weld. and goop up the base of each tool head and let it sit overnight to harden.
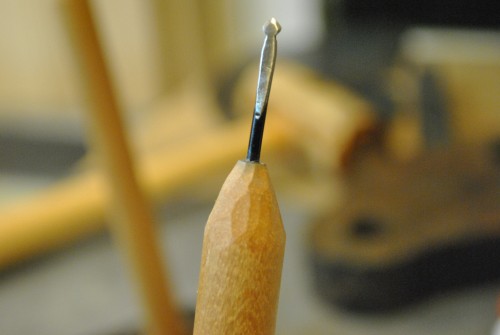
Let them set up overnight.
All done!
If I ever need more/different versions of these I just have to wittle down the other end and mount another tool, I also have another dowel that would make me another 6 or 7 of these. Made entirely from found/recycled/junk parts. I have tested these with various waxes and they do a fine job, I did take some time to carefully sharpen the heads with a fine file, which dramatically improved their performance.
Materials used:
found wood dowel
old bicycle spokes
JB Weld
Tools used:
drill and drill bit
utility knife
jewelers saw with jig saw blade in it (you could use the utility knife if you didn’t have a saw)
torch (a tiny kitchen torch works, you might be able to get away with using the stove)
Hammer (or any heavy metal thing)
Cost:
Total cost $0!
